Magic Conch classroom soldering kit
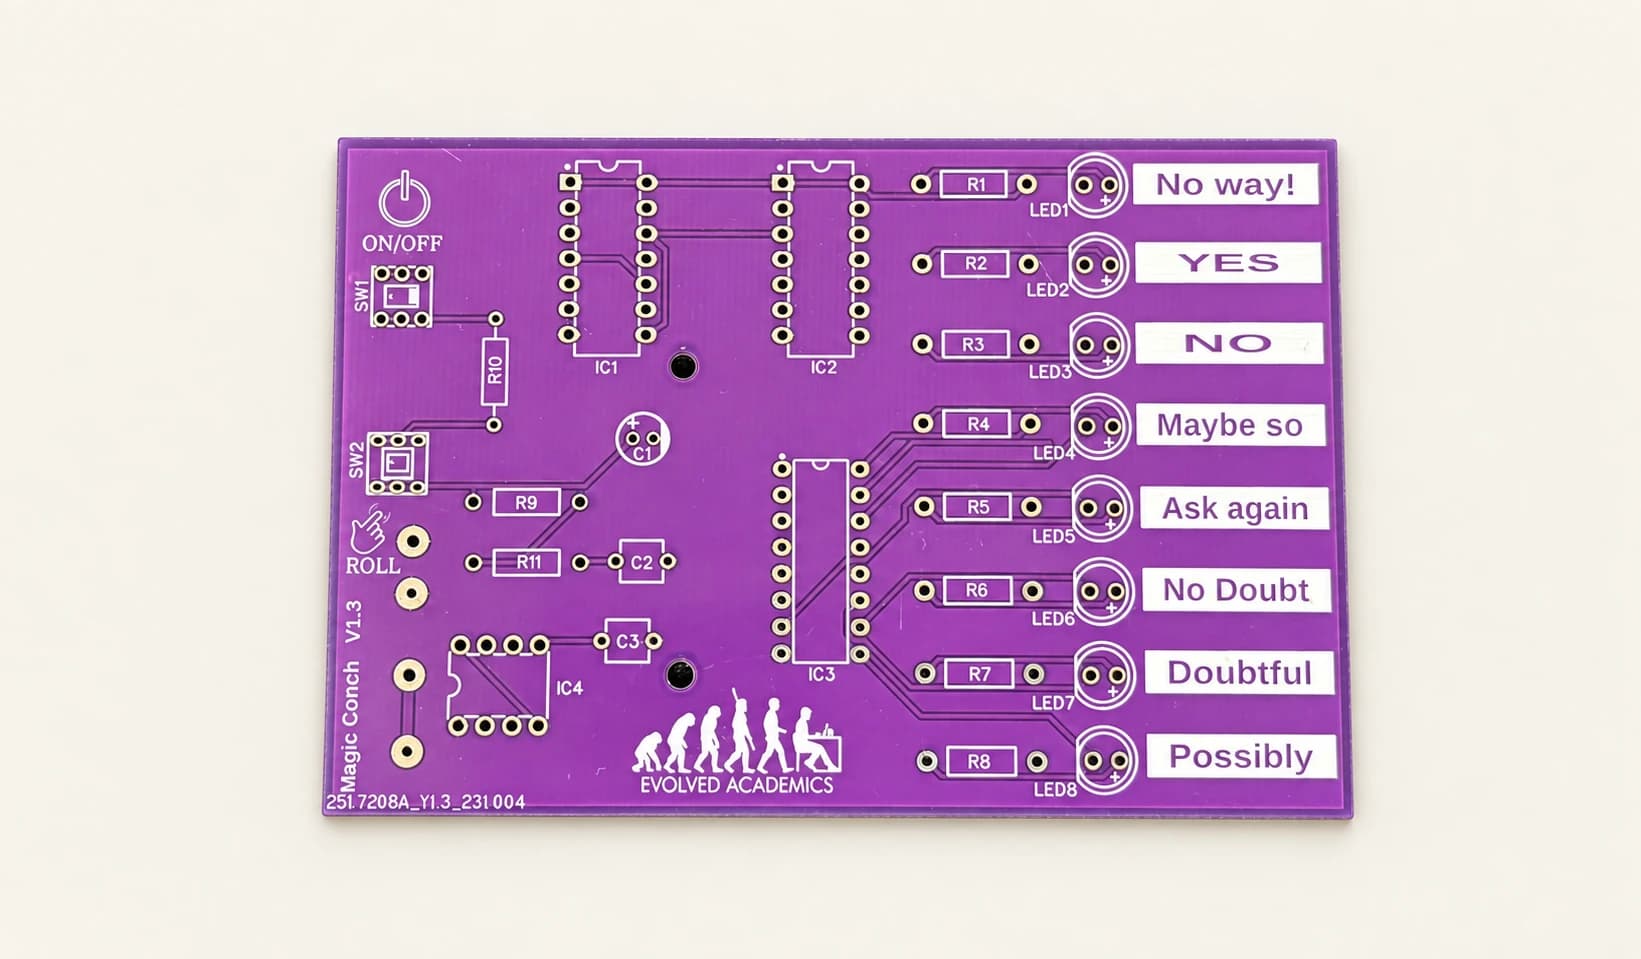
Students solder a small circuit board that answers yes-or-no questions. Hold the ROLL button and eight LEDs chase around the board; let go and one light stays on beside one of eight printed answers. A 555 timer sets the speed and three logic chips decide where the chase stops — no code, no firmware, no microcontroller.
- Build time
- ~90 min
- Skill level
- Beginner
- Class set
- 30 kits
Choose an option
Most classrooms start here
Class set of 30
$449.00
30 student kits plus the digital Teacher Launch Pack · $14.97 per student
Lesson plan, study guide, quiz, private answer key, assembly slides, and the kit QR page for students.
Your school on the board
Custom-branded class set of 30
$479.00
30 student kits, Teacher Launch Pack, and your school or program artwork on each board
Needs print-ready artwork. Adds four weeks after the later of order acceptance and artwork approval.
Try one before you commit
Individual kit
$29.99
One student kit with QR-linked build resources
Same board and parts as the class set. The Teacher Launch Pack is included with class sets only.
Selected
Individual kit — $29.99
SKU EA-MC-001
Buy one kitRequest a school quoteCard checkout is handled by Stripe inside this site. Schools and districts can order on a purchase order with Net 30 terms instead, or Net 45 where the district requires it and we approve it.
Before you order: this is a soldering project. It needs adult supervision, eye protection, ventilation or fume extraction, irons and solder, and your district’s approved soldering procedure. Each finished board also needs 3 AA batteries, which are not included.
The lesson comes first, then the chips.
The board is deliberately simple to explain: a timer stage runs the chase, a short logic chain decides where it lands, and eight LEDs show the answer. Students can reason about the whole circuit in one period, which is what makes the troubleshooting lesson possible at all.
- 01
Through-hole soldering
Heat the pad and the lead together, feed solder into the heated joint, and recognise a joint that flowed correctly from one that only looks finished.
- 02
Component literacy
Read resistor bands, tell a polarised capacitor from an unpolarised one, and match a chip notch to the socket and the board.
- 03
Quality control
Inspect for bridges and cold joints at a fixed gate — batteries out, sockets empty — before any power reaches the board.
- 04
Troubleshooting
Follow the signal path from the timer stage to the logic stages, isolate one fault, change one thing, and retest.
No surprises on the day of the build.
In every student kit
- The printed circuit board, silkscreened with every component outline and designator
- All through-hole parts: eight LEDs, eleven resistors, three capacitors, two switches, and four chips — a 555 timer, a 74HC138 decoder, and two 74LS74 flip-flops
- IC sockets for all four chips, so students never heat a chip directly
- A battery holder for three AA cells, which mounts on the back of the board
- QR access to the 32-slide assembly deck, the 5-page student study guide, and the 12-question readiness quiz
Your classroom supplies
- Batteries — each finished board needs 3 AA cells
- Soldering irons, solder, stands, tip sponges, and flush cutters
- Eye protection and fume extraction or ventilation
- Classroom consumables such as helping hands, mats, and labels
Class sets add the digital Teacher Launch Pack at no extra charge. They do not add tools, batteries, or consumables.
About 90 minutes of soldering, across three periods.
The two numbers describe the same project. Ninety minutes is hands-on iron time. Three 50-minute periods is the sequence the included lesson plan uses, because the safety demonstration, the inspection gate, testing, and troubleshooting all need room.
- Period 1
Safety, parts, and the first joints
Safety briefing and a joint demonstration, then inventory, sorting resistors, one inspected practice joint, and installing the resistors and empty sockets.
- Period 2
Polarity and the directional parts
A short polarity mini-lesson, then the capacitors, the eight LEDs, the switches, and the battery holder, with partner inspection initials at each gate.
- Period 3
Power, test, troubleshoot
Chips are seated after inspection — sockets get solder, chips do not. Students power the board, test both buttons, isolate any fault, and record the evidence.
- Before class
Teacher preparation
Confirm irons, ventilation, and eye protection, print the QR cards, load the assembly deck where the whole room can see it, and have 3 AA batteries ready per board.
The board comes with the lesson.
Student materials are public — open them before you buy anything. The Teacher Launch Pack ships with every class set. Only the quiz answer key stays in the teacher copy.
Open the resource index- Assembly deck
- Student · public
- 32 illustrated slides covering safety, build order, orientation, the inspection gate, first power, and troubleshooting. Written for the v1.4 board you receive; the illustrations are v1.3 artwork, which has the same parts and connections.
- Study guide
- Student · public
- 5 pages on component literacy, joint quality, polarity, and symptom-based troubleshooting.
- Readiness quiz
- Student · public
- 12 scored questions on safety, placement, orientation, and inspection. A Google Form, plus a browser copy for networks that block Forms.
- Lesson plan
- Teacher · preview public
- 7 pages: three 50-minute periods with objectives, pacing, inspection gates, differentiation, and extensions.
- Answer key
- Teacher only
- Delivered with the class-set Teacher Launch Pack. Never published, never linked from a student page.
Your school printed on the board.
Available on class sets of 30 for $30.00 more per set — $1.00 more per board. Send print-ready artwork and we print it into the board silkscreen.
Customization adds four weeks, counted from the later of order acceptance and artwork approval. It is an addition to normal fulfillment, not the total time.
See the custom class setCustomization example
The last photograph in the gallery above shows a board printed with one school’s artwork. It is an example of what customization looks like — not the standard product, and not a district endorsement.
Shipping
Included in the price for the continental United States. No separate shipping charge at checkout for the 48 contiguous states. Orders ship from California and are typically packed and handed to the carrier within 3–5 business days. Custom-branded orders add four weeks before shipping. For Alaska, Hawaii, and U.S. territories, email us before ordering so we can confirm freight.
Read the shipping policyReturns
Unused kits in original packaging can be returned within 30 days of delivery for a full refund of the purchase price; return postage is yours. Kits that arrive defective, damaged, or short of parts are replaced at no cost and nothing needs to come back.
Read the return policySchool orders
Generate a numbered estimate yourself, then we review shipping, tax, availability, and business details and issue the approved quote your purchase order is written against.
Go to school purchasingBefore you put in the PO.
Is this suitable for students who have never soldered?
Yes. Every part is through-hole, the board prints an outline and a designator for each one, and the assembly deck teaches placement, polarity, joint quality, inspection, and troubleshooting in order. Adult supervision, eye protection, and your district's soldering procedures are required.
How long does the build take?
About 90 minutes of hands-on soldering. The included lesson plan spreads that across three 50-minute periods so there is room for the safety demonstration, the inspection gate, testing, and troubleshooting. Those are two descriptions of the same project, not two different timings.
What does a class of 30 need that the kit does not include?
Three AA batteries per finished board, soldering irons and solder, eye protection, ventilation or fume extraction, and the usual bench consumables. The kits supply the board, every component, the sockets, and the battery holder.
Can I see the student and teacher materials before buying?
Yes. The student assembly deck, study guide, and readiness quiz are public on the resources page. The Teacher Launch Pack lesson plan can be previewed there too. The quiz answer key is the one piece kept to the teacher copy and is never published.
How do we buy this with a school purchase order?
Use the For Schools page. You choose quantities and generate a numbered estimate immediately; we then review shipping, tax, availability, and your district's business requirements and issue the approved quote your purchase order is cut against.